This article will show you how to add and delete tags, and tag faxes.
Start out by clicking your initials on the bottom left part of the screen. Then click ‘your settings’, and the ‘tags’ tab.
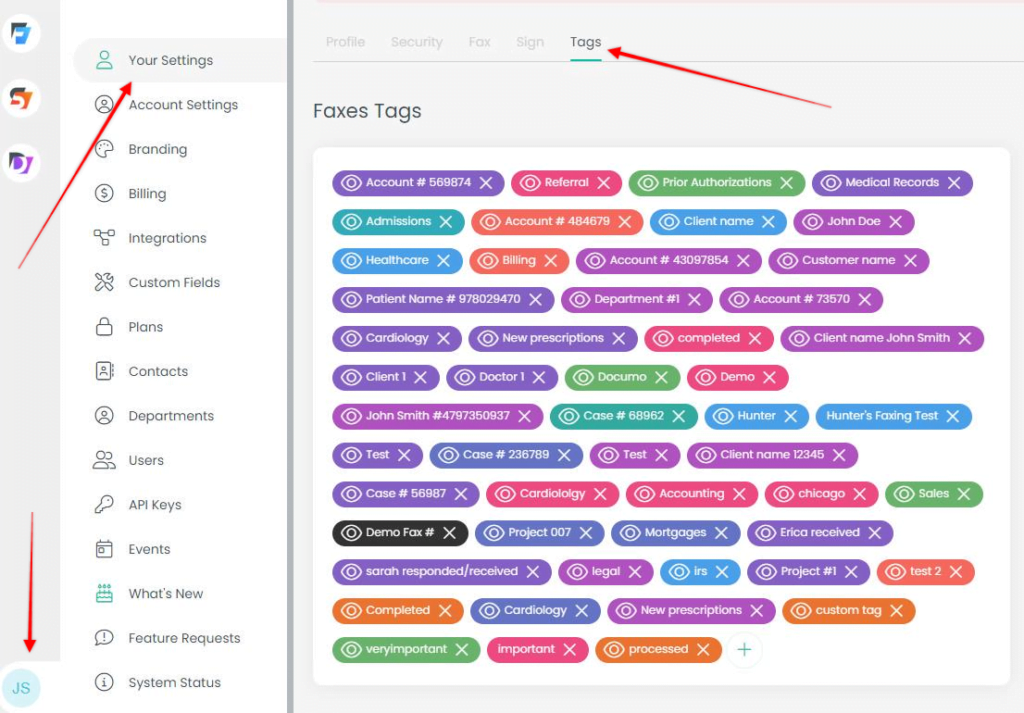
You can add a tag by clicking the + sign at the end of all the tags. You can delete a tag by clicking the X next to that tag.

These are the different options when creating a tag. If you want all users on your account to be able to see and use the tag, click the ‘public’ toggle. If you only want your user to see and use them, click the ‘user level’ toggle. You’ll also want to name it, choose a color for the tag, and then click create.

You can add tags to your faxes directly in your history by clicking the + sign in the tags column and then selecting the desired tag.

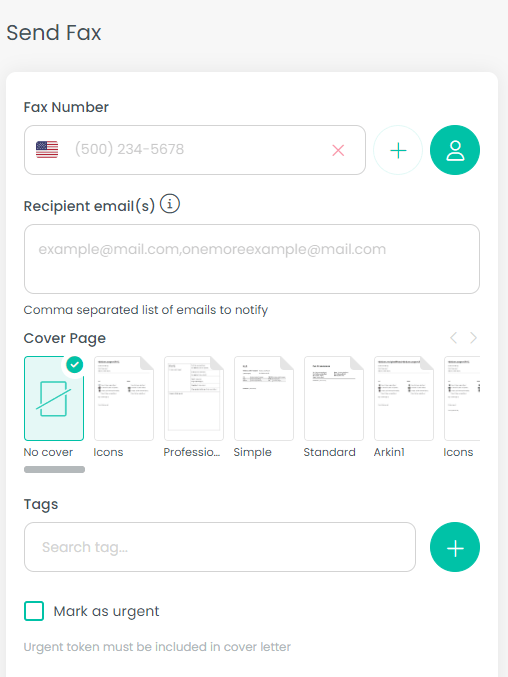
You can add a tag directly to a fax you’re sending on the send fax page. You can also create a tag directly on this page by clicking the + sign next to the tag field.
Please note that if you delete a user, all the tags that the user created will be deleted as well.
You can also add inbound and outbound number tags. Outbound tags will be added based on that user’s caller ID.
Click the settings wheel next to the number, then add your tags:

They will display in your history when sending/receiving faxes using this number:

If you have any other questions, please reach out to support@0it.us


